Hi lovelies, My name is Tracy at Inkyfingers and ribbon. I am from the UK and thrilled to be guesting on the Tonic Studios blog today. I live with my very understanding hubby and all our furbabies and I am very blessed to have been around this amazing industry of ours for over 15 years.
Speaking of being blessed leads me into the first card that I am sharing with you today which I created with the beautiful Nuvo Sparkle Dust. This is a very fine glitter.

I think quite a few crafters like glitter but don’t like the fall out or mess that comes from working with it. Well, this above project is easy to create and once finished you get no fall out!
- To start off you need to trim down some card and Tonic Adhesive sheet to slightly larger than your stencil. The stencil I am using is the beautiful Petal Pattern Stencil.
- Remove the protective sheet from your adhesive sheet (don’t throw this away you will need it) and lay your stencil over the sheet.
- Make sure you have something on hand to catch all the glitter. Take your first colour of glitter and cover the stencil.
- Remove any excess glitter and decant back into the pot.
- Take your adhesive protective sheet from earlier and lay over the stencil and use your Tonic Card Creaser and rub over the surface, this burnishes your glitter into the adhesive.
- Gently remove the stencil and apply your second colour of glitter and repeat the above steps.
- Your glittered panel is now ready to use and you will get no fall out.

For this card I added vellum die cut circle using the A2 Layering Basic Scalloped Circle dies and overhung it off the corner of the card, folding the overhang under the card and adhering into place. For the sentiment, I used Will’s Hand Blessed Word Die and die cut it from a silver sheet of cardstock included in 6×6 Moonlight Rose card pad. I love that I can send this card to someone and that they won’t end up with hands full of glitter.
For my second card, I used one of the pretty stamps from the Dainty Daisies stamp set.

- I started off stamping and heat embossing the floral arrangement, I used the Nuvo Jet Black Embossing powder and love just how dark the black is, it’s a true jet black.
- I then watercoloured the images using the following Aqua Flow Pens- Arabian Nights, Ocean Air & Summer Holiday.
- Once it was dry I started to assemble the card, for the matt and layering and Will’s Hand Love Die I used Black card and Opulent Orchid Glitter Card
- To finish off I added some dimension using the beautiful Dream Drops in Fairy Wings and Indigo Eclipse.

I love creating this card, it was quite bold colours but I like that against the glitter card and softly coloured dream drops.
For my third and final card I went for something that was a slightly softer look and uses the fab Nuvo Embellishment Mousse Medium.

- I started off by using one of the pretty rose gold sheets from the 6×6 Moonlight Rose card pad. and the Twisting Circles Stencil and I applied the Embellishment Mousse through the stencil onto the card and then left the mousse to dry whilst I washed the stencil.
- I then used one of the dies from the Mixed Rectangle Layering Die set to cut the panel down to size.
- I then trimmed a piece of vellum down to size and wrapped it around the centre of the panel and I also trimmed down to pieces of the Rose gold card and adhered them to the top and the bottom of the vellum strip, this also helps stick the vellum strip down.
- I die cut the Will’s Hand Inspire word die and die cut that from the same rose gold card several times and adhered them together for dimension.
- Once this was all done and dry I adhered the whole piece to a card blank.
I love the look of the embellishment mousse on the Mirri card and it’s a great way to add texture to your card.
Thank you so much for stopping by today. I had so much fun creating these projects and hope I have inspired you to play with some sparkle and shimmer.
I hope you all have an amazing day, happy crafting.
Tracy
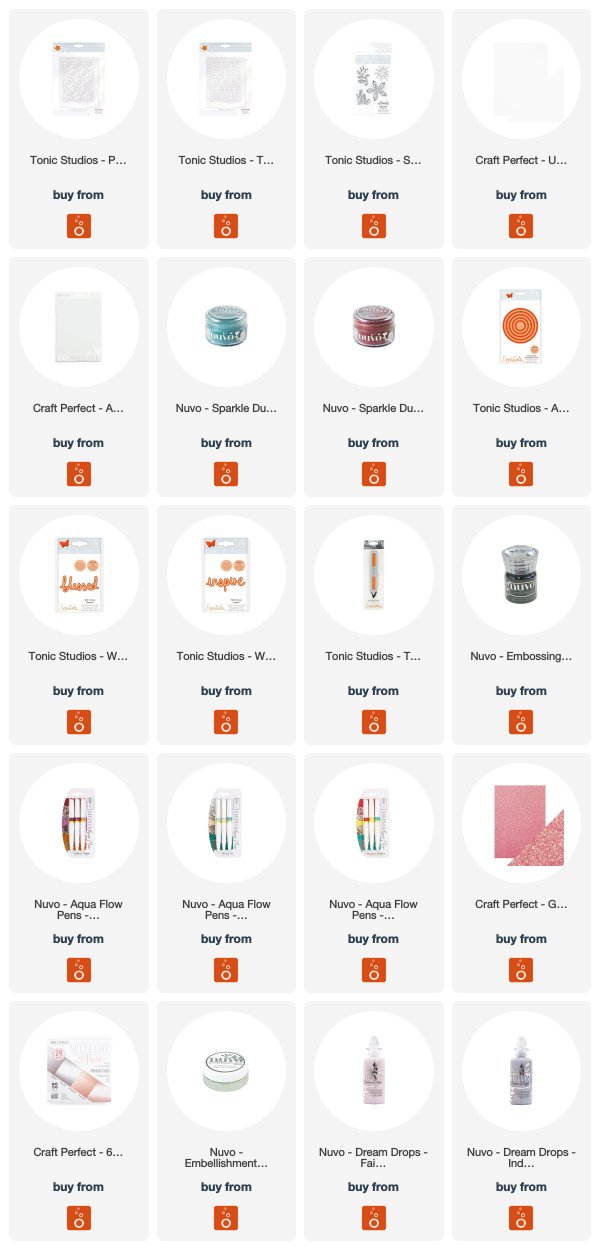
SUPPLIES LIST TONIC UK – EUROPE
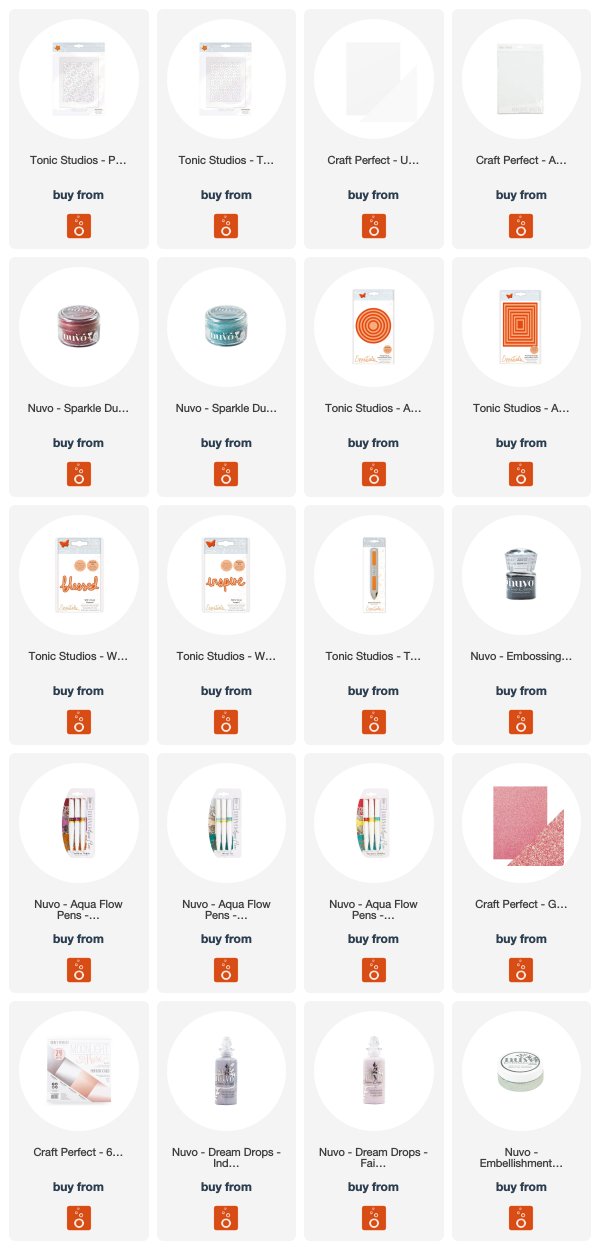
SUPPLIES LIST TONIC USA
The post 3 Cards with 3 Card Making Techniques – Tracy Freeman appeared first on Tonic Studios Blog.


