Hi there, it’s Kathleen back with you and today I have another scrapbooking layout to share with you that I created with some Tonic Studios products.
My design team colleagues do a wonderful job of providing you with beautiful card making ideas, but since I am more a scrapbooker than a card maker, I thought I’d show you how you can use the Tonic Studios range for other projects, too!
By the way, in case you missed the layout I shared last month, make sure to check out the blogpost here.

Before I started working on this layout, the only thing I knew was that I wanted to use the Photos & Filmstrip die set and the Monarch & Princess Wings butterfly dies. The Photos & Filmstrip die set is very versatile. You could use it in mini albums, on layouts and even on cards. What I love about the frame die is that it actually creates a pocket frame where you can slide in your photo. You also get various words and phrases that you can die cut in the frame.
For this whole page, I only used patterned paper scraps from my stash together with the two die sets to create my embellishments. To add a little bit of sparkle and shine (and because I just cannot get enough of the Holo Waves Mirror Card), I also die cut one frame from a piece of the speciality paper.

Special Frames
I didn’t want to fill all of the frames with photos so the page wouldn’t become too busy. Instead, I kept one frame empty and then placed a piece of white cardstock with my journaling inside. I used the other frame to create a shaker element. To seal the window I used a piece of acetate and then filled the pocket with a mix of Rainbow Quartz Triangles, Sunset Yellow Butterflies and white sequins from this set.


Butterfly Elements
For the butterflies, I used more patterned paper scraps and a bit of vellum. And I also die cut the small butterfly from another piece of the Holo Waves Mirror Card so it would be repeated again on the page.
Whenever I use butterflies on my projects, I like to only adhere them in the center so that I can flip up the sides. That gives them more dimension and adds depth to the project. The Deluxe Adhesive works perfectly for this since you can be very precise with it and it dries clear.

Final Touches
For some final touches I added my title and then splattered a little bit of the Nebula Blue and Turkish Rose Mica Mist onto my page. And of course, I can’t finish a layout without my beloved Nuvo Drops. I used Love Potion Dream Drops, and Simply White and Dandelion Yellow Crystal Drops and added them to fill some of the white space and to give the layout some more texture as well.
I’m quite happy with how this page turned out and it’s always nice to push myself a little bit out of my comfort zone. Normally I often work with scrapbooking collections that come with ready-made embellishments, but I hope this project shows you that you don’t necessarily need them to create a beautiful layout. And I love projects where I’m able to use up some of my paper scraps!
So I hope this inspires you to maybe have a look into your dies and see how you can use them to create your own embellishments! Thanks a lot for stopping by!
Xo, Kathleen
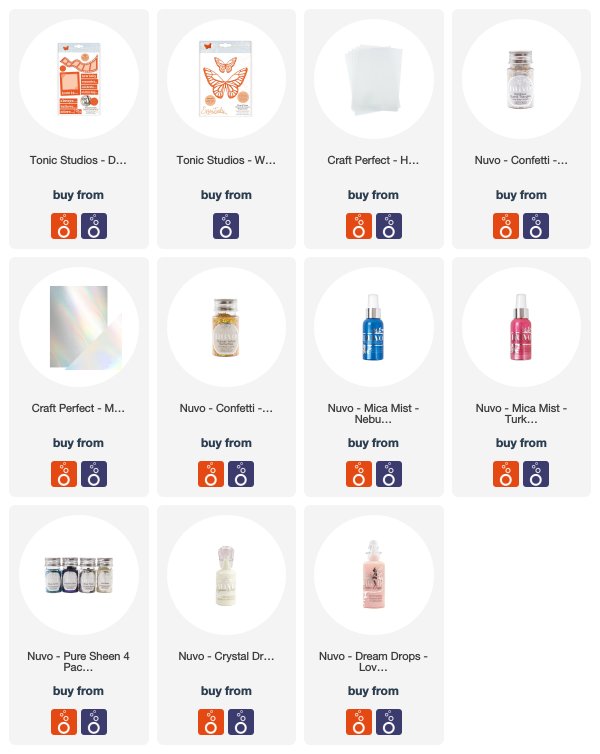
SUPPLIES LIST
The post Create your own Scrapbooking Embellishments with Tonic Dies appeared first on Tonic Studios Blog.


