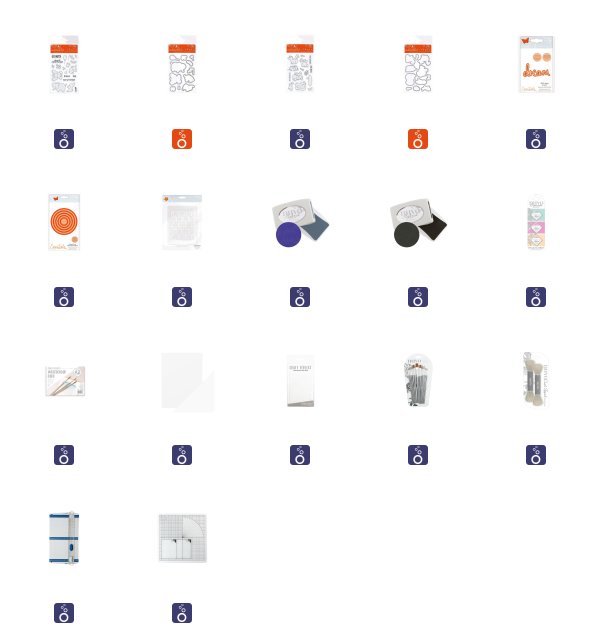
Hello everyone, Koren here with another card project for you. Today I am using the Ellie Goes Nuts Adorables stamp set and coordinating dies. This set features some elephants and accessory images such as a top hat and an adorable little mouse.
I paired it with the Dream word die from Will’s Hands collection. This collection of dies has both the word die itself and a shadow die that frames the word perfectly when layered together. I love how this card turned out.
This card is A2 size in top folding portrait orientation.
 The Card Background
- First, I started with a piece of A2 size watercolor cardstock from Tonic Studios.
- Then I ink blended Empire Blue Nuvo Ink onto the cardstock using Nuvo Blender Brushes and I added a little more interest by laying down the Twisting Circles Stencil.
- Next, I continued to add a little more ink this time brightening things up with Mint Macaroon ink. This lighter blue-green shade helps to soften the Empire Blue just a little.
- I loved how this looked but I wanted it to sparkle and shine. So I coated the entire background with Nuvo Glimmer paste in Moonstone. This blended everything together and it made it all super sparkly and I love it. It also faded the Twisting Circles from the stencil so that it’s quite hard to tell that there is a design underneath the paste.
- This background panel was left to dry while I worked on my focal images.
In the future, I might account for that a little more and remember to really make the design pop before adding the glimmer paste.
The Stamping
- Using Black Shadow Ink, I stamped the images from Ellie Goes Nuts onto the same watercolour cardstock. This ink can be used with water and alcohol markers.
- To add color to today’s main images, I used my watercolor pencils.
- To blend out the colors I used Nuvo Watercolor brushes and clean clear water. I also used their coordinating dies to cut them out.
- To put the card together I added the ink blended background that had been cut down to 3 1/2 inches by 4 3/4 inches to a grey cardstock card base.
- I needed an aperture to look through for the front panel so I cut a piece of Tonic Studios White cardstock down to 3 1/2 by 4 3/4 inches and used the layering basics Scalloped circle dies to cut out a hole to see the background through.
- Before adding this panel to the background I arranged the Dream word die under the aperture and stamped the word “big” from Ellie Goes Nuts underneath where it will be affixed using Black Shadow ink. I love the font of this stamp.
- It is very fun and playful. I popped this panel up using Tonic Studios foam tape. To attach my images, I used the same foam pads.

Final Touches
- I ended up cutting the “dream” die an additional three times to layer them together using Nuvo Deluxe Liquid adhesive.
- After all of those layers were dry, I then attached it to the shadow layer.
- I used the same technique on this layer as I did with the background only on a much smaller scale.
- Then, I used the liquid adhesive to attach it to the front panel, placing it below the aperture and above the stamped “big”.
- The last images I added were from the Scent Wiff Love stamp set. I wanted my elephant to be dreaming of rainbows.
- So I stamped the thought bubble and colored a little rainbow of watercolor in the bubble.
- I also stamped the big bow from the same stamp set and gave him a tie so that he can look great while dreaming big with his little mouse friend by his side.
That’s all for today.
I hope you enjoyed my project today, I know that I certainly enjoyed creating it.
Koren
The post Dream Big Ellie + Tonic Studios – Adorable Elephant appeared first on Tonic Studios Blog.


