 Hi everyone! Hope you’re having a fabulous day. I like to the get the most for my money, so when I buy a die, I want to make it strettccchhh! Not literally of course! I created this whole card pretty much from one die!
I can hear you wondering which die I’ve used to make the flower. I’ve die cut it from Chilli Red and Ocean Blue Craft Perfect cardstock. Well have a closer look…

Still none the wiser? The eagle eyed amongst you might have worked out that it’s actually created just from the waste left from the Patterned Lattice die. Look at the next photograph; it will all be much clearer!

To create the body of the card, I used a plain white blank. Then, I added some of the main lattice die trimmed down to fit the size of the cardstock. Next, die cut the panel from red and trim out a section which builds up layers and adding some colour to the card.

Then, all you need to do, is die cut about 3 lattice pieces. Using the leftovers, start to stack and rotate the pieces so you end up with the beginnings of a poinsettia. For the next step, I placed some of the final layers using Craft Perfect Dimensional Foam Pads and then coloured lots of black and white gel pen dots.

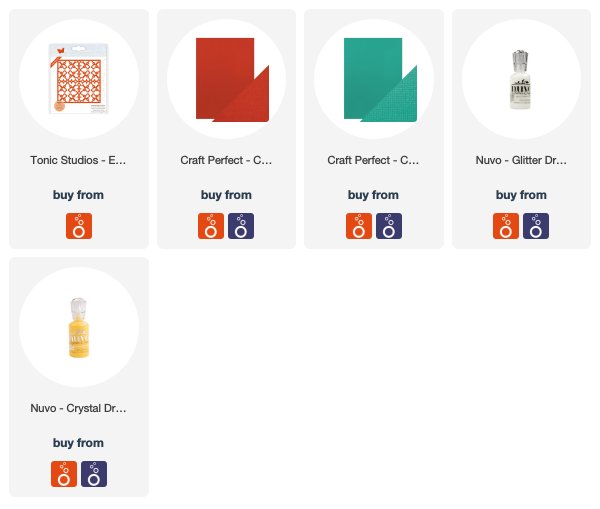
All that I needed to do was add the poinsettia centres using Nuvo Drops in Dandelion Yellow. Next, I added a few dots for texture using White Blizzard drops. I put the whole card together in about 30 minutes which means they’re great for batch making too.
I hope this post inspires you to look at your leftovers a little differently and see what amazing shapes you can use for your crafting!
Keren x
SUPPLIES LIST
The post 1 Die 3 Ways with a Poinsettia from the Waste appeared first on Tonic Studios Blog.


