Hey everyone, it’s Kathleen back with you and today I have a different kind of project to share with you! If you’ve been following me, you will know that I’m actually more of a scrapbooker than a cardmaker. So, of course, it was only a matter of time until I had to make a layout with the wonderful Tonic Studios products!
For this layout I used quite a few different Tonic and Nuvo products, so let’s have a look at what I did to create this page.

How to create the die cut elements:
- Take a piece of white cardstock and cover it with clear (or white) gesso to prepare it for the watercolouring.
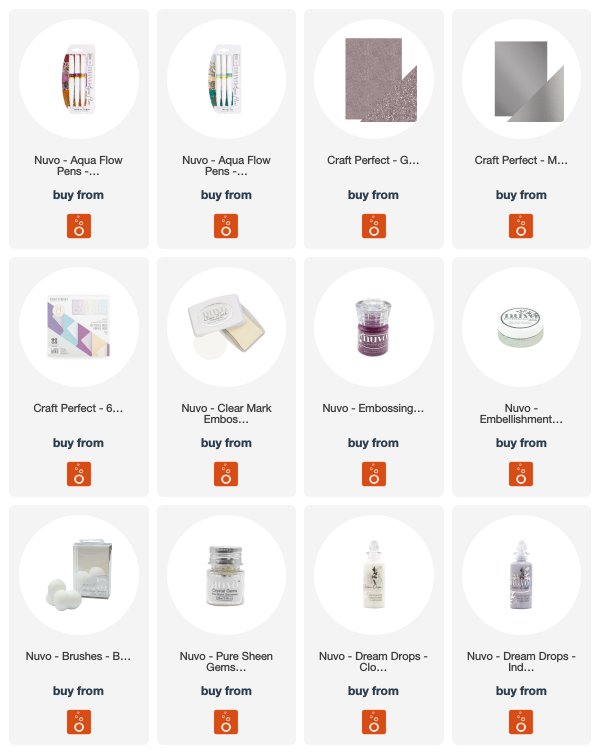
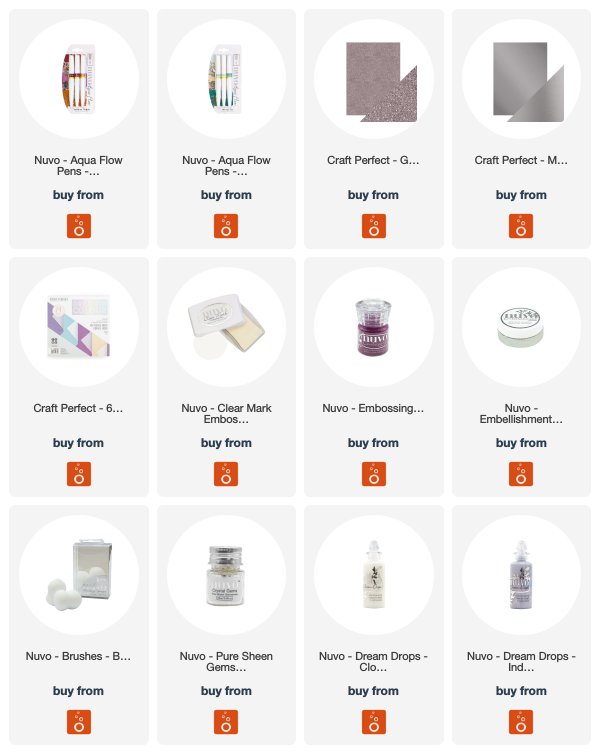
- When it’s dry, take some Aqua Flow Pens and Shimmer Powders to colour the cardstock. Use the Light Mist Spray Bottle to spray water on top so the colours will blend together. I used colours from the Ocean Air and Arabian Nights set, as well as the Lilac Waterfall Shimmer Powder.
- After it has dried, use your favourite dies and die cut elements from the watercoloured cardstock to create your own embellishments. (I used a few different butterfly dies from my stash)
- Use coordinating colours of glitter card and mirror card and die cut the same image to layer together with the watercoloured ones. For the butterflies on my page, I used the Berry Fizz glitter card and the Frosted Silver card.


To add even more variety to the die cut elements, I also used papers from the Dream in Colour paper pad. To create the purple butterfly towards the top of the page, I first cut it from white cardstock, then pressed the shape into the Clear Mark Embossing pad and covered it with Crushed Mulberry embossing powder twice. I love the shiny, glossy look this gives to the butterfly.
After I was done die cutting all the elements, I arranged them around the title and photo I had placed on the patterned paper background. For the title, I used a big chipboard word from my stash. It actually came in white, but I used the Pure Platinum Embellishment Mousse to colour it and give it a metallic shimmer. The Blending Sponges work very well for adding just a thin layer of the Embellishment Mousse.

For some final touches, I used my favourite Crystal Gems and the Dream Drops in Cloud 9 and Indigo Eclipse and scattered them around the page. I really love the subtle accents and the little bit of added sparkle!
I hope this project inspires you and you enjoy the different ideas for making your own die cut embellishments! Even if you don’t make layouts, you could easily transfer these techniques to cardmaking, art journaling or so many other paper crafting projects!
Thanks a lot for stopping by! Xo, Kathleen
SUPPLIES UK SHOP
SUPPLIES USA
The post Create a Scrapbooking Layout with Nuvo Products – Kathleen Graumuller appeared first on Tonic Studios Blog.


