Hello everyone. My name is Koren Wiskman and I am so happy to be joining the Tonic Studios Social Media Design Team for this term. I hope that I can inspire you to create something new and exciting.
Today, I have created a handmade greeting card using the recently launched Adorables Kirby & Lu Lu’s Wash Day Stamp set and coordinating dies. As soon as I saw these cute kitties, I knew I wanted to color them and hang them out to dry on a shaker card window and that’s exactly what I did.

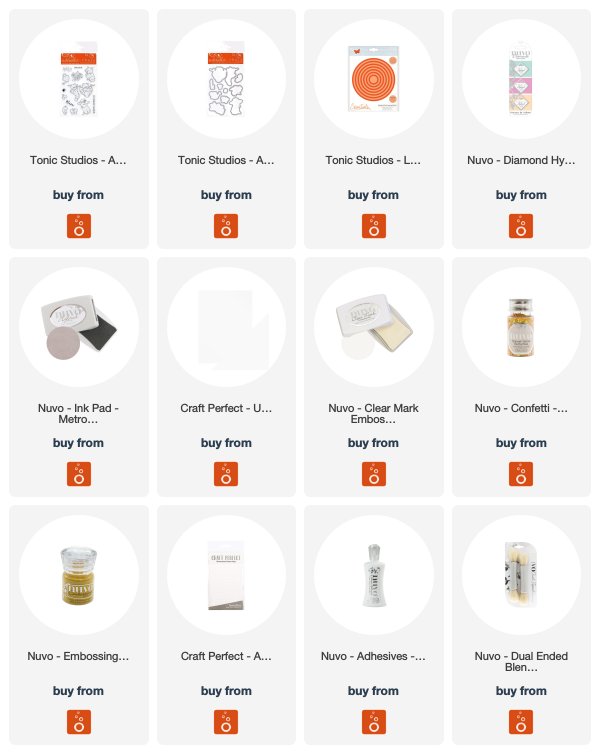
I started with a gray card base cut down to be, 4 1/4 by 8 inches, the size of a top folding A2 card base. When folded in half it measures 4 1/4 by 5 1/2 inches. This is the card size I enjoy creating with most of the time. I masked off the top of my A2 card base, only to expose the bottom portion that will be visible on the front of the card. I took the solid paw print stamp from the Adorables Kirby & Lu Lu’s Wash Day stamp set and some Tonic Studios Metro Grey Ink and I stamped quite a few kitty paw prints towards the upper right-hand corner. I didn’t care much about where I was stamping them or orienting the stamp, I only knew that I didn’t want them to be on the back of my card, and I also didn’t want them to cover the front of the card. I just wanted a little bit of an accent of paw prints scattered in the back, and I chose to concentrate them towards the upper right-hand corner. You could easily keep going with the stamps and cover the entire front of the panel with paw prints to get a different kind of look.
After setting the card base aside to dry, I began to work on my background panel. This is going to be a shaker card, so I need to have something interesting for you to look at in the window, right? So I ink blended some cloud shapes onto Craft Perfect White cardstock using Nuvo Mint Macaroon ink with Nuvo Blender Brushes, in the background where my kitties will be hanging out.
I stamped my images onto white card stock with Nuvo Black Shadow Ink which is an Alcohol Marker friendly ink and I colored them with various alcohol markers from my stash. I used the coordinating dies to cut them out.

Once the background was created and the images colored and cut out, we can begin to put together our shaker card. To create the window I used the Basic Scalloped Circles Die set to cut the largest scalloped window as possible. Both the background cloud panel and this window panel measure 3 1/2 by 4 3/4 inches. I then used super strong double-sided adhesive to adhere to some clear acetate to the back of my new scalloped window. For acetate, I actually reused some of the thicker plastic packagings that my dies came in, and it worked beautifully. I cut the plastic down to slightly larger than the scalloped aperture that I created was and stuck it on using Nuvo Deluxe Adhesive.
To build up my shaker bits area, I used very thin strips of foam adhesive that is a good thickness for dimension. I added two of the flower cluster images from the same Kirby & Lu Lu’s Wash Day stamp set to the bottom of the clouds to appear below the kitties. I just stuck them on using the same liquid adhesive. I also removed the release paper from the adhesive and poured in my Nuvo Sunset Yellow Butterflies as my shaker card embellishments. After the butterflies were released into their new home inside my card, I sealed them up using the ink blended clouds panel. I coated the back of the panel with Nuvo Deluxe Adhesive and centered it onto my card base.
I stamped the “meow” sentiment using Nuvo Clear Mark embossing ink onto black card stock and heat embossed it with white embossing powder. I used the coordinating die to cut it out. The sub sentiment “let’s hang out together” was stamped slightly curved also with Nuvo Clear Mark embossing ink but this time I used Nuvo Golden Sunflower embossing powder to heat emboss it. I then used a Tonic Studios Banner die to cut it out.
 I used Deluxe Liquid Adhesive to adhere to my kitties outside of my shaker window. I also used Tonic Foam Adhesive squares to attach my butterflies, which I colored to match the butterfly bits that are inside of my shaker window. The sentiment banner has built-in score lines to give your strip its own dimension. I just used a small amount of liquid adhesive on the back of the side that would stick flat to the card front and held it in place a few secs as it set enough for me to move onto the next step.
The ‘meow’ sentiment was added using the same liquid adhesive, only this time, I added a very small amount to the very bottom to allow it to hang off of the sentiment banner base.
I also tucked in another cluster of flower image behind the sentiment to add even more dimension to the card, which I think was the finishing touch.
I hope you enjoyed my project today. Thank you for taking the time to read about it. You can find me on social media everywhere, I’m me- just search my name, and I am looking forward to getting to know you.
Koren Wiskman.
SUPPLIES UK SHOP
The post Create a Shaker Card with the Adorables Kitty Stamp Set – Koren Wiskman appeared first on Tonic Studios Blog.


