Hey there! Daniel West here from Del & Artie. For those who do not know me, I live in Providence, Rhode Island, USA, with my wife and three teenaged children. Together, we planted a church here in 2004 that I pastor full-time. I started paper crafting in March of 2018 and fell in love with designing cards. Now, our dining room doubles as the Del & Artie Studio. I am pleased to be designing a card for the Tonic Studios Blog, today!
Sometimes you just want to say Hi to someone for no other reason than to express your joy in their friendship. I created this card to let a friend know my thoughts had wandered their way. This friend of mine will know that someone loves him and thinks about him, even outside a birthday or holiday.
For this card, I used the Petal Pattern Stencil to create an inked background for a shaker card. Tonic stencils have a beautiful aesthetic as well as a practical design. They have thick borders, rounded edges and a branded tab at the bottom.
I also used Nuvo Calligraphy Pento create a simple “Hi” sentiment on a scalloped die cut circle.

STEP-BY-STEP INSTRUCTIONS
- To begin, I prepped the back of the stencil with some low-tack adhesive and laid it out over an A2-sized card panel.
- Then, I blended some Acorn Brown Nuvo Hybrid Ink over the top of the stencil creating a vignette stencilled background.
- To form a shaker window, I used the Scalloped Circles Die Set to cut frames out of foam sheets, acetate, and kraft cardstock. I stacked them together using Nuvo Deluxe Adhesive.
- Next, I poured an earthy mix of sequins into the centre of the stencilled panel and adhered the shaker window over the top!
- Then I took a five-minute break to just shake it!
- Nuvo has a really nice Signature Calligraphy Pen that includes an ink refill. I used the pen to create a simple “Hi” sentiment on a scalloped die cut circle.
- Then, I outlined it with a white gel pen and adhered it to the front of my shaker window.
- Next, I trimmed down the front panel to add a strip of dark brown cardstock on the right of the card for added interest.
- Finally, I adhered everything down to a white card base and added drops of Dandelion Yellow Nuvo Crystal Drops.
I hope you enjoyed this little project as much as I did.
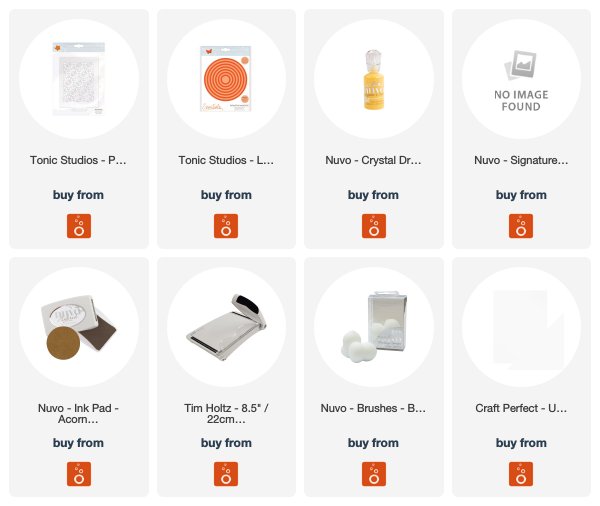
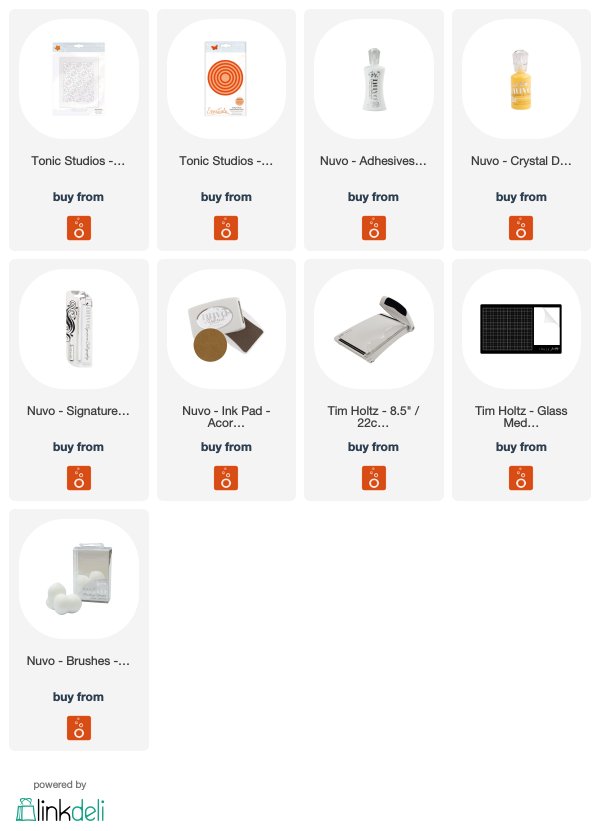
I have a list of supplies in a grid below for your convenience.
Let me know the name of your favourite stencil from Tonic in the comments below!
Daniel
SUPPLIES LIST UK – EUROPE
SUPPLIES LIST USA SHOP
The post How to Create a Petal Pattern Stencilled Shaker Card + Calligraphy Pen Sentiment – Daniel West appeared first on Tonic Studios Blog.


