 everyone, welcome to a new blog post and card making video tutorial here on the Tonic Studios Blog. Today I’m sharing a classy but modern card featuring Tonic Studios Bunched Bouquet Stamp Set a layered stamp set.
When I first saw this stamp set, I instantly knew I wanted to create a clean and simple card to make these flowers shine. I simply love how realistic these roses look. The best part? They are super easy to stamp! Make sure to watch the video below for a step-by-step tutorial.
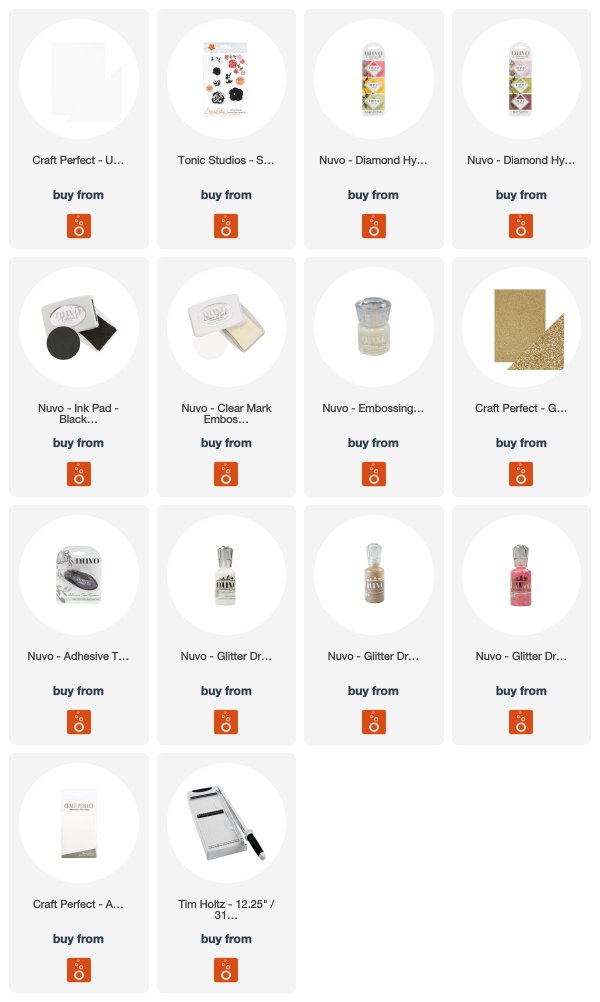
I started out with a piece of Craft Perfect Ultra Smooth Card and cut it to 5-1/4″ inches by roughly 3-1/2″ inches. Then, I used Bunched Bouquet Stamp Set to stamp the roses.
Layering stamps allow you to easily add dimension and detail to the stamped images.
I always start stamping the solid image first, this is usually the biggest image in the stamp set. Then use the smaller, detailed stamps.
For the first layer, I used Pink Sherbet Hybrid Ink. For the second layer, I used Panama Rose Hybrid Ink.

To add more dimension to this card, I applied an easy and quick masking technique. When masking, keep in mind you always need to start with the image you want to be in front. For this particular design, you want to stamp the flower first and then cover that up with masking paper, in that way, when you stamp the steam and leaves, it will look like they’re under the flower. By the way, don’t worry if you don’t have any masking paper, a Post-It note or even copy paper works just as well.
After stamping the roses, it was time to stamp a sentiment. I used Nuvo Black Shadow Hybrid Ink and of the sentiment from the Tonic Studios Secret Garden Stamp Set included in the Tonic Craft Kit 18 – Dream in Colour.
I wanted to add some shine to this greeting, so I simply stamped over that sentiment with the Nuvo Clear Mark Embossing Pad and sprinkled on Nuvo Crystal Clear Embossing Powder. Next, I tapped off the excess powder and heat set it until melted.
To finish the card, I used a strip of Craft Perfect Gold Dust Glitter Card and a black and white stripe of patterned paper.
Finally, I used Honey Gold, White Blizzard and Sherbert Shimmer Nuvo Drops.
That’s it for today. Before you go, let me know what your favourite flowers are.
I’d love to hear from you! Mine are peonies!
Thanks for stopping by.
Big hugs,
Laura
The post Layered Stamping Tutorial with Bunched Bouquet Stamp Set – Laura Sterckx appeared first on Tonic Studios Blog.


