 Hello everyone, it’s Emma Williams here and today, I’m really happy to be a guest blogger for Tonic Studios and share my mixed media project with you.
For as long as I can remember, I’ve been making things ~ even as a child, you would always find me creating little cards and gifts for friends and family but it wasn’t until 2008 when I bought my first stamp set that I caught the crafting bug and since then, I’ve never looked back and I’m always excited to try out new products, which is why I was thrilled to have the opportunity to play with some of Tonic Studios’ wonderful dies and mediums.
I had so much fun creating this piece of home decor which is all about inspiration and full of layers and dimension and I really hope you’ll enjoy how I used all the amazing Tonic products to bring my canvas panel to life.

STEP BY STEP INSTRUCTIONS
- Always use the metal shim when cutting with any of Tonic Studios Media Dies, as this will protect your base plate.
- Attach a piece of torn corrugated card across the centre of your canvas board and then apply a layer of ivory acrylic paint over the surface.
- I adhered torn pieces of a book page to the painted board, concentrating on the centre of the canvas and then scraped white acrylic paint over the top.
- Using the Nuvo Black Shadow Ink Pad, I inked up a script stamp that I have in my stash and always find so useful when creating backgrounds for mixed media projects and stamped the script directly onto the background.
- Wrap some twine around the centre of the clock, wrapping it to create a fan shape.
- Spritz the background lightly using the Antique Gold Mica Mist and heat dry thoroughly.
- After die cutting the Traditional Timepiece image from chipboard, I then applied a generous layer of the Tuscan Gold Expanding Mousse over the top of the die cut before using a heat gun to create a wonderful texture.

- Using my fingertip, I rubbed small amounts of Indian Gold, Aquamarine and Aloe Vera Embellishment Mousses over the top of the clock to accentuate the texture.
- I attached the clock to the canvas board using foam pads for dimension.
- Add Copper Penny Crystal Drops around the face of the clock.
- Sprinkle a small amount of the Atlantis Burst Shimmer Powder onto watercolour card, mist with water and using a brush, paint the card with the misted powder. Heat dry the card.
- Using the small and large spiky die from the Dainty Daisies die set, I cut three layers of each size. I inked the edges with a brown ink and then shaped the petals before layering the die cuts to create my beautiful flower. Repeat to create a second bloom.
- I used black card to die cut the stamens which I placed in the centres of each flower before adding a touch of Indian Gold Embellishment Mousse to the tips.

- For the leaves, I used the second flower die in the set and taking the largest die, I cut watercolour card and coloured the petals with the olive green Aqua Flow Pen in the Woodland Walk Set.
- I then attached this die cut under my dimensional bloom to create the look of leaves.
- Die cut a selection of fronds from the watercolour card and again colour them with the olive green pen.
- I attached the flowers and the fronds to the left-hand side fo the clock, placing them over a bed of sisal fibres and then applied Ivory Seashell Crystal Drops to the tips of the fronds.
- I attached three glass pebbles to the arrangement, which I coloured with Aloe Green and a hint of Indian gold Embellishments Mousses.

To create the Inspire quote, I cut three layers of card using Will’s Hand Inspire die and layered the card over the top of one another to create one substantial word quote.
I coloured the word using the Indian Gold Embellishment Mousse which I applied over the top of the layered card and then attached the Inspire word across the centre of the clock.
Finally, I added some doodles to create a border on the canvas board using a black pen and then added some Indian Gold Embellishment Mousse around the edges.
I really hope you’ve been inspired by the creative process behind my project and loved the techniques that I’ve used to create texture, shimmer and shine, all of which can be used in so many various ways, whether you’re making cards, home decor pieces or gifts for friends and family.
Thank you so much and if you have any questions, then please don’t hesitate to message me on social media or leave a comment below.
Have a wonderful day…
Emma
x
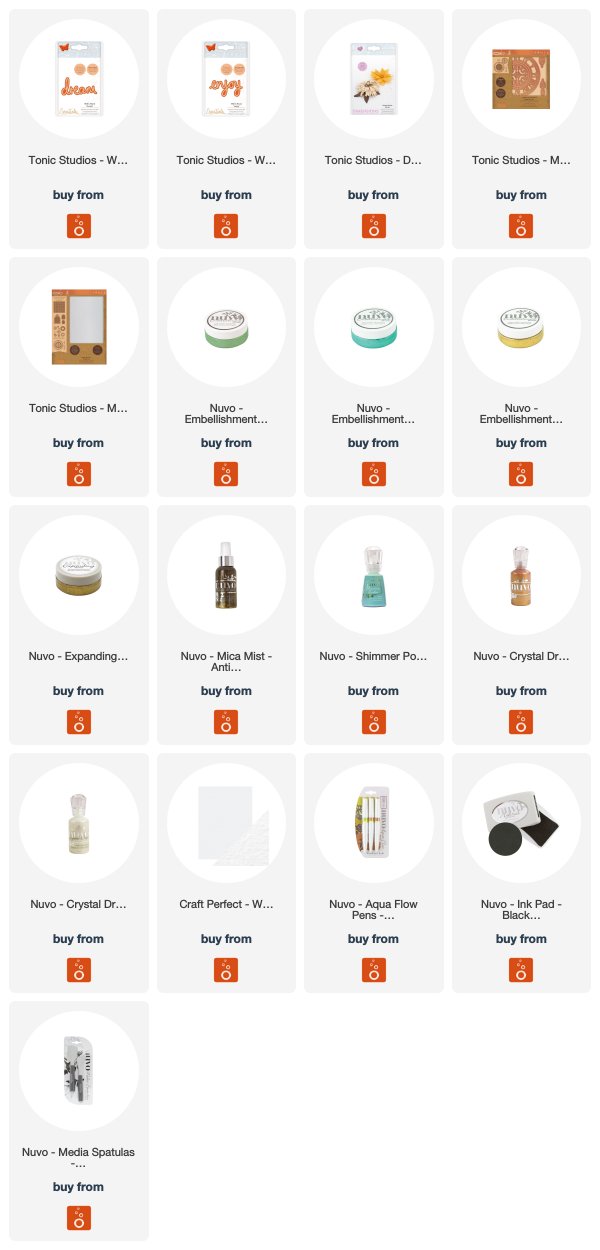
SUPPLIES LIST TONIC UK SHOP
we have listed similar supplies to those which are out of stock
SUPPLIES LIST USA SHOP
OTHER SUPPLIES USED :
- Canvas Board 18 x 24cm
- Chipboard
- Twine
- Glass Domed Pebbles
- Corrugated Card
- Acrylic Paints: White and Ivory
- Script Stamp
- Black Card
- Black Pen
The post Mixed Media Project Inspiration – Time To Inspire – Emma Williams appeared first on Tonic Studios Blog.


