Hey everyone, it’s Kathleen back here and today I want to share two ideas for snowflake cards with you.
Although the cards use similar products and the same shapes, they are quite different in style.
The first one is a bit more modern, fresh and playful, while the second one is quite elegant and simple.

How to make this card:
- Cut a panel of white cardstock to a little less than A2 size
- Ink blend Moroccan Teal and Laguna Bay with a blending sponge, to create an ombré effect
- Apply Moonstone Glimmer Paste through the Falling Snowflakes stencil with a media spatula. When dry, adhere the panel to a white side-folding card base
- Use the Falling Snowfall Trio die set (similar) and cut two snowflakes from vellum and one from Frosted Silver card
- Cut a strip of light blue cardstock to about 1.25″x4″ and stamp and heat emboss the sentiment with gold embossing powder onto it
- Adhere the two vellum snowflakes to the center of the card with Deluxe Adhesive
- Add the sentiment strip on top, using foam adhesive for more dimension
- Adhere the silver snowflake to the sentiment strip
- Finally, add some Nuvo Drops in Pale Gold around the card

For the second card, I chose a more elegant color scheme and also changed the size of the card to 4.5″x7″ to switch things up a little.
I live in Germany so I used a sentiment die in Deutsche from my stash.
You can explore Tonic Studios Deutsche Sentiment Dies here.

How to make this card:
- Cut a piece of dark blue cardstock to a little less than 4.5″x7″
- Use the Aqua Shimmer pens in Midas Touch and Glitter Gloss to add some sparkle to the background (simply push the barrel to let the ink flow, then tap the pens to add the drops)
- Adhere the panel to a 4.5″x7″ white card base
- Die cut snowflakes with the Falling Snowfall Trio die set from vellum, Sugar Crystal Glitter Card and Harvest Gold Mirror Card
- Die cut a sentiment from Gold Pearl Card and layer it on to vellum. I used the Von Herzen die, but any of the sentiment strips dies would work really well, too!
- Stack some of the snowflakes together, varying between vellum, glitter card and metallic card
- Adhere the die cut sentiment and snowflakes to the card. I also added some gold thread behind two of the snowflakes for even more bling
- For a final touch, add some Nuvo Glitter Drops in Gold Coast

And that’s it. Both cards are very easy to make and especially the second one would work great for mass production. I hope you like today’s inspiration! Let me know if you have any questions.
Thanks a lot for stopping by! Xo, Kathleen
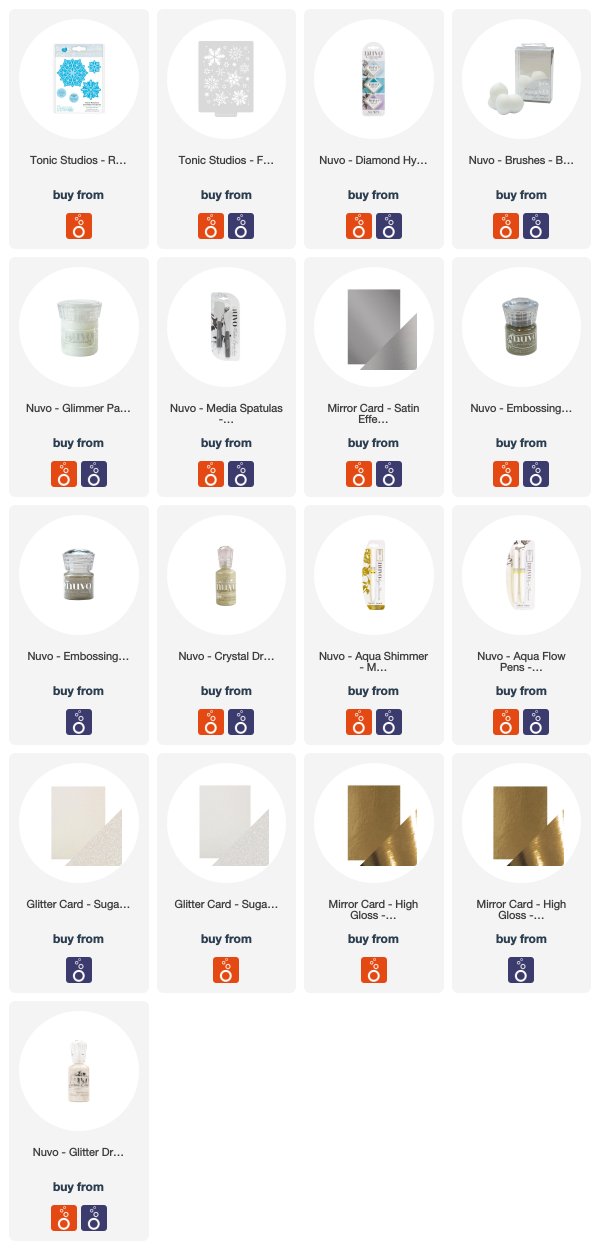
supplies list

The post Two Ways for Snowflake Cards appeared first on Tonic Studios Blog.


