Hello everyone. Today I have a project for you where turn word dies into a shaker card. It is well known that flowers aren’t usually my thing.
So to compensate for that, I’ve been trying to use more floral images and push myself out of my crafty comfort zone.
I used the Flora Background stamp to create this card as well as a few of the Will’s Hands word dies.
The Cardmaking Process
Stamping
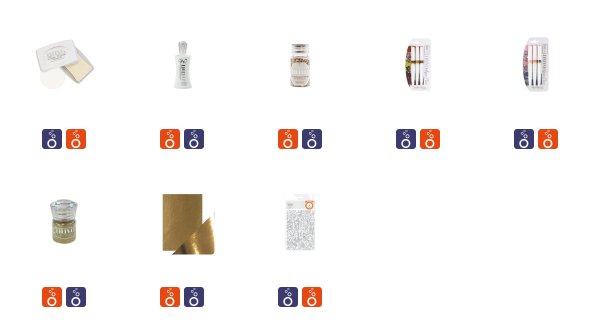
- First, I cut a piece of watercolor paper to 3 1/2 by 4 3/4 inches. I stamped the Flora Background using Nuvo Clear Mark embossing ink and heat embossed it with Nuvo Gold Enchantment embossing powder. This embossing powder is so sparkly. I love using it.
- Then I colored the Flora Background image with Nuvo Aqua Flow pens in Pressed Olive and Cameo Pink. I didn’t spend too much time doing this because I intend to cover most of it up. I only wanted a small amount to show through to the front, almost acting as a customized patterned paper background.
- For the front panel of the card, I also stamped the Flora Background image onto a piece of light gray cardstock also cut to 3 1/2 by 4 3/4. I used the same Nuvo Clear Mark embossing ink as before, but this time I wanted to use it to leave a watermark of the image behind. I did stamp it twice to get good solid coverage and to deepen the color just a bit.
Creating the shaker
- To create the windows for my shaker card, I arranged the Faith and Hope shadow dies onto the light gray panel and cut them out using my die cutting machine.
- Using Nuvo Deluxe Liquid Adhesive, I adhered a piece of packaging from one of my Tonic Studios die sets behind the windows.
- Creating a well for my shaker bits to live in was very easy. I took some foam adhesive and placed thin strips of foam adhesive around the edge of my card panel on the acetate side. This will allow me to adhere to my window panel to my watercolored background panel.
- Before adhering them together, I added Nuvo Champagne Shine sequins into the well.
- To seal the shaker panel I removed all of the release paper from the foam adhesive and lined up the background to cover it the best I could.
- If you misalign these two panels, you can always trim off the excess from the background panel. Just take some large straight edge scissors to trim whatever is sticking out from behind the front panel. I put this panel onto a medium gray A2 sized card base scored in a side-folding landscape orientation.
Finishing Touches and Details
- To add even more shine, I wanted to cut the actual word dies from gold foil cardstock so that I used Craft Perfect Harvest Gold Foil Cardstock to cut both the Faith and Hope word dies.
- I cut them only one time each and adhered the one layer to the center of each of their coordinating shadow areas of the front side of the gray panel.
- Next, I also cut the ampersand from the same Harvest Gold foil cardstock, but this one I cut four times and layered them all together using Nuvo Deluxe Liquid adhesive.
- Using the same liquid adhesive I stuck everything else to the panel.

You can see very little of the background but what you do see has a tremendous amount of shine.
With the foil word dies and the gold embossing powder in the background and the sequins that appear when the card is shaken- this card literally seems to shine in the dark!
That is how the entire card was put together. I hope I have inspired you to think out of the box for your next shaker card and to explore a little further outside of your comfort zone.
Koren
Supplies List
The post Word Die Shaker Card with Koren Wiskman appeared first on Tonic Studios Blog.


